For any home project, be certain to follow local code and permitting requirements.
© 2022 Trex Company, Inc.
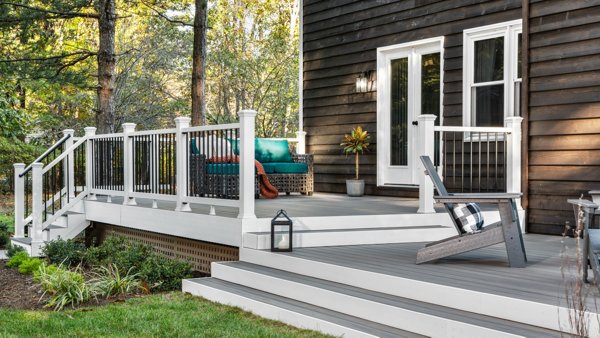
01. Intro
02. Post Skirts and Sleeves
03. Positioning and Cutting the Rails
04. Installing Hardware Brackets
05. Secure the Bottom Rail
06. Installing Balusters
07. Securing the Top Rail
08. Installing the Footblock
09. Installing Post Caps
Step-by-Step Instructions
- 01: Installing Post Skirts and Sleeves
- 02: Measuring and Cutting Top/Bottom Rails
- 03: Installing Foot Block
- 04: Installing Mounting Brackets
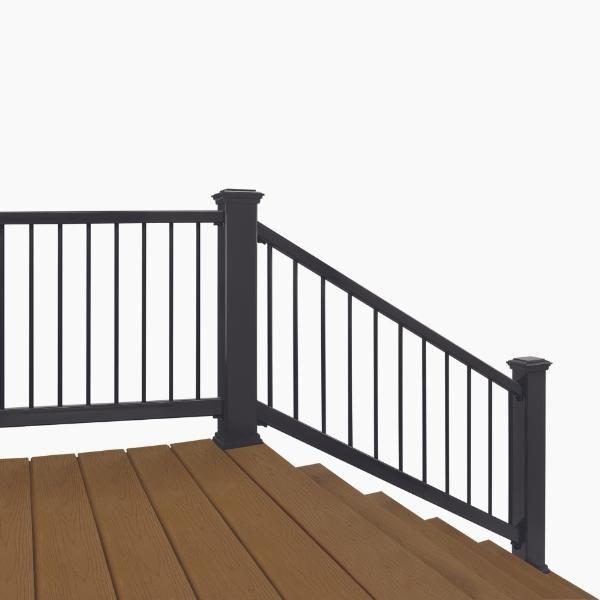
- 05: Installing Rails and Balusters
Chapter 01: Installing Post Skirts and Sleeves
Print This Chapter
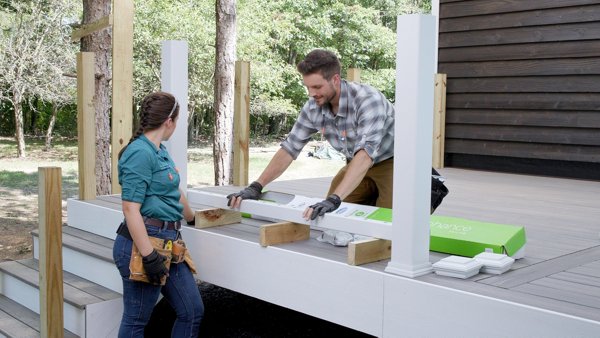
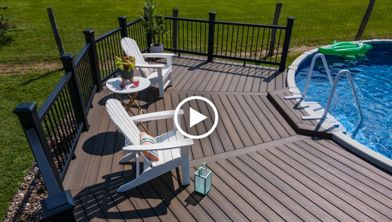
So you're ready to get started? Watch our how-to tutorial before you start your build.
Before you begin any DIY project, make sure to wear the appropriate personal safety equipment. Eye protection, ear protection, gloves, long pants, a long-sleeved shirt, and reinforced toe shoes are recommended. Always make sure that you have a first aid kit nearby. For any home project, be certain to follow local code and permitting requirements.
Step 1
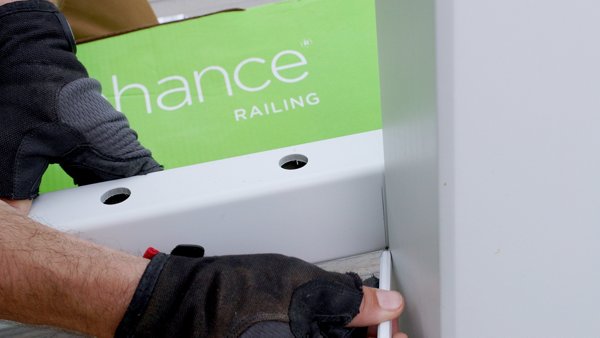
Slide post skirt over wood guardrail post.
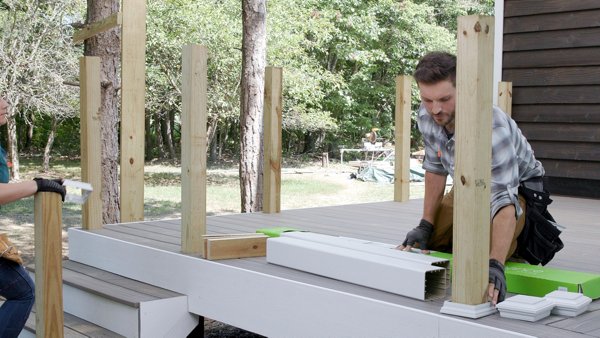
Step 2
Cut post sleeve to desired length. The post sleeve length should be sufficient to cover the pressure treated 4x4 post. They can be longer if homeowner desires.
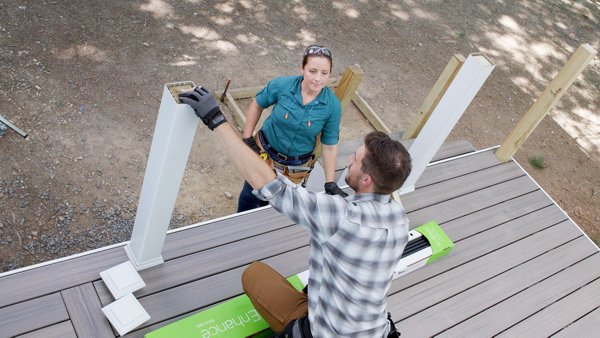
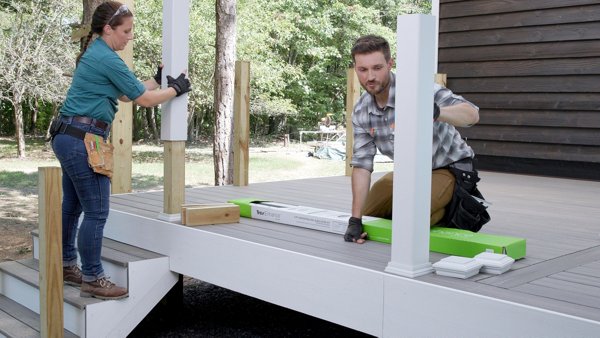
Step 3
Slide post sleeve over wood guardrail post and into post skirt.
Step 1
Cut 3, 12”x3 ¾” blocks. Then lay bottom rail against post on 3 ¾” blocks.
Step 2
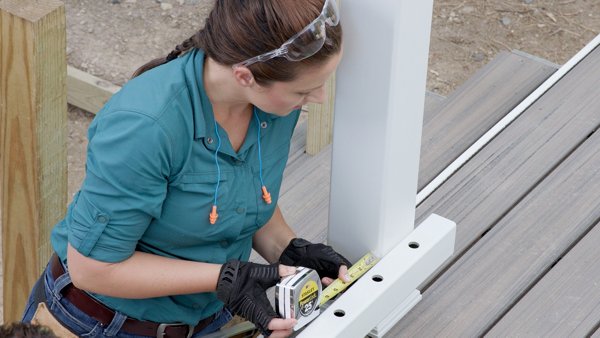
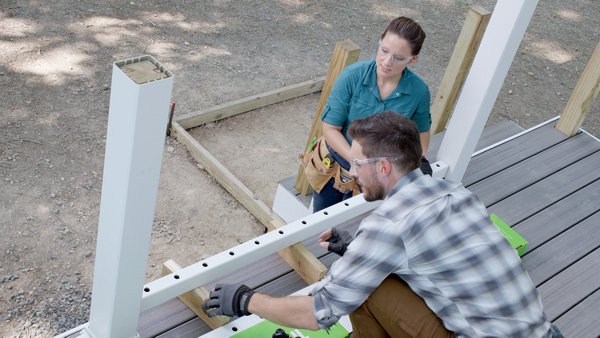
Even baluster holes on each side to each post. Make sure the space between the edge of the post and the first baluster hole is the same on each side of the rail.
Step 3
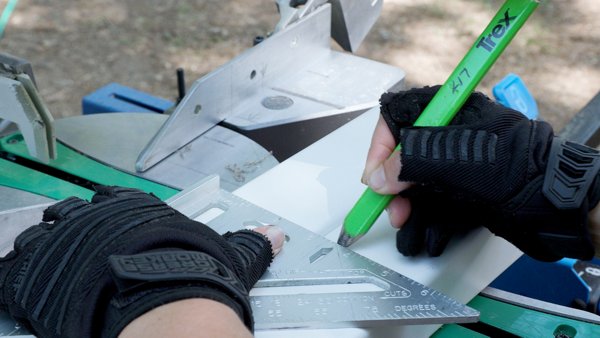
Mark the rail along the side of the post. This will be where the rail is cut.
Step 4
Mark the top rail by using the bottom rail as a pattern. Place rails together and line up the baluster holes. Transfer lines from the bottom rail to the top rail using a speed square.
Step 5
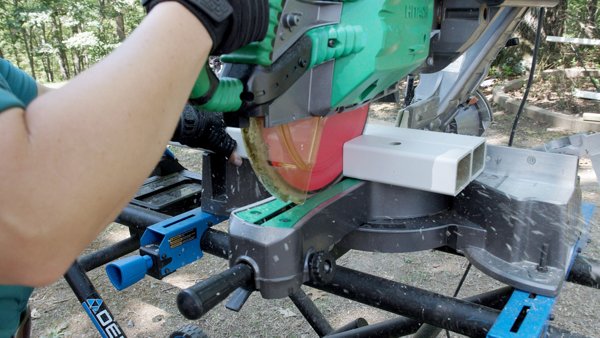
Cut the top and bottom rails.
Step 1
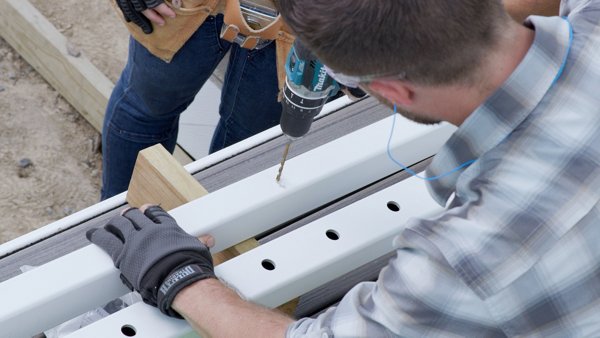
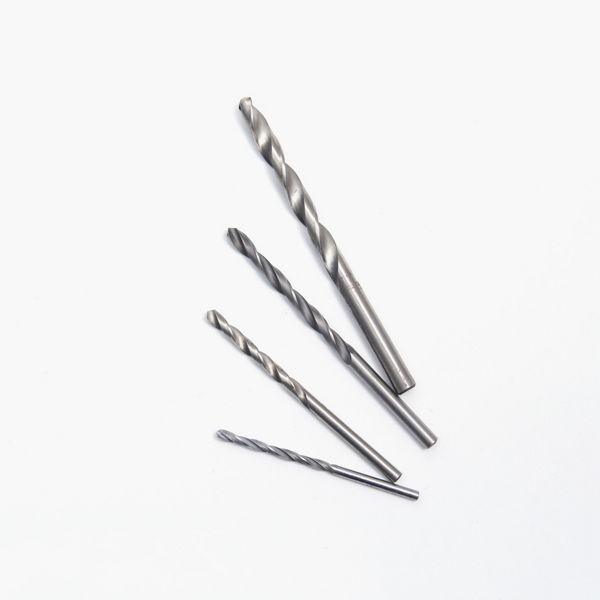
To drill Hole for the foot black, flip the bottom rail upside down to measure and mark the center of the bottom rail. Drill a 3/16” hole for the foot block.
Step 1
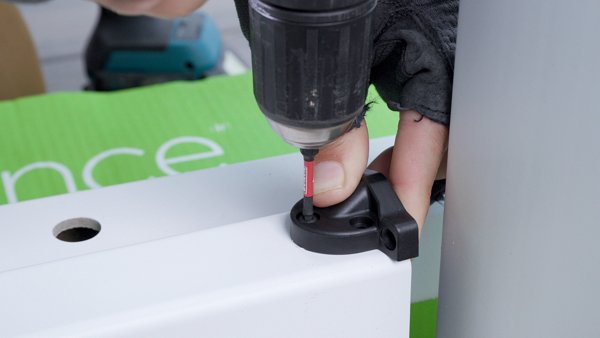
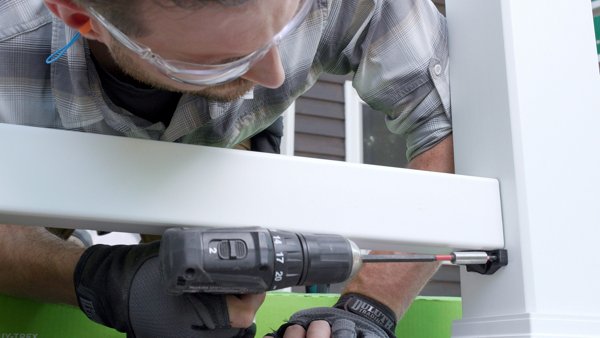
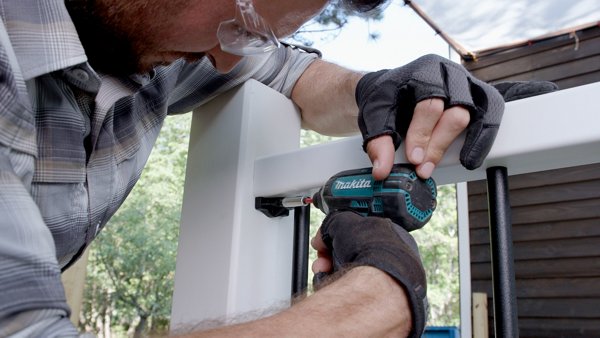
Install mounting brackets flush on the bottom of each end of the bottom rail using 1” self-drilling screws (supplied). When installing the fasteners make sure the drill is in low speed. Do not use an impact driver.
Note: The bottom will be the side without baluster holes.
Step 2
Install mounting brackets on the bottom of the top rail using 1” self-drilling screws (supplied).
Note: The bottom side of the top rail will be the side with the baluster holes.
Step 1
Place 3, 3 ¾” blocks between posts. Set bottom rail on top of blocks with baluster holes facing up.
Step 2
Center bottom rail on post and fasten through brackets into post with 2” wood screws (provided). When installing the fasteners make sure the drill is in low speed. Do not use an impact driver.
Step 3
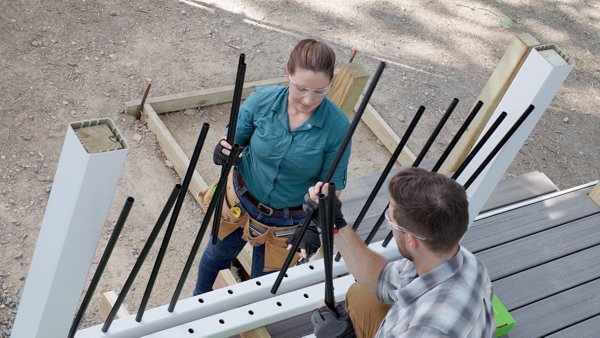
Install balusters into predrilled holes on bottom rail.
Step 4
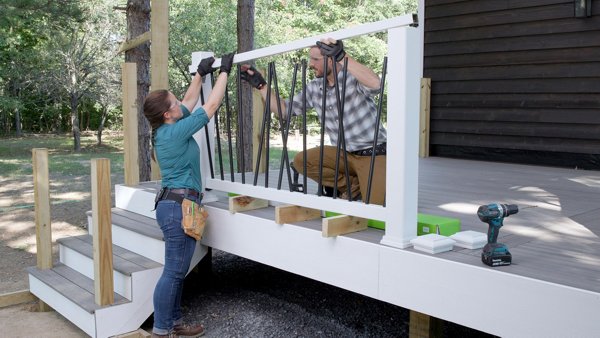
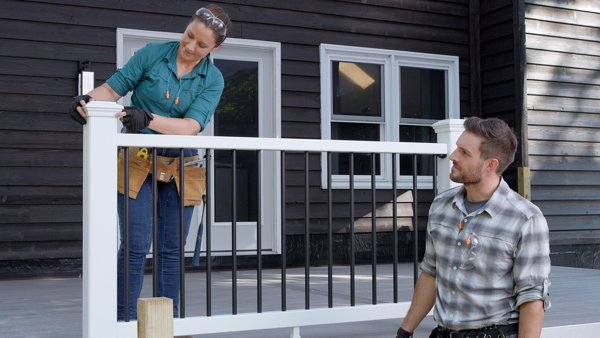
Install top rail starting on one end of rail section. Insert first baluster into top rail baluster hole with the top rail at a slight angle. Slowly lower top rail and install each baluster in the appropriate baluster hole. Hold pressure on the one end of the top rail so that it does not lift off the first baluster.
Once all balusters are installed, apply pressure by tapping with your hand to seat the top rail in the middle and both ends creating a snug fit.
Step 5
Center the top rail on the post.
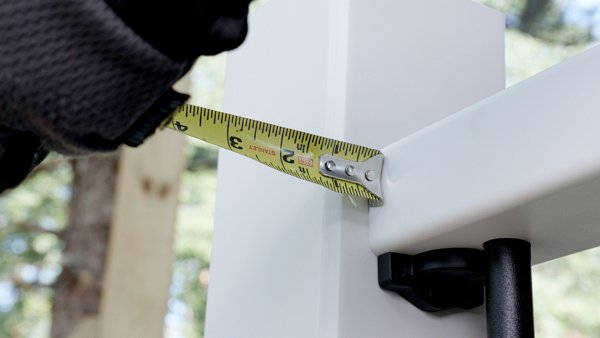
Attach with 2 (provided) 2” wood screws through the bracket into the post.
Use of a bit extension is recommended. The extension will keep the drill away from the rail so it does not make any marks or discolor it.
Step 6
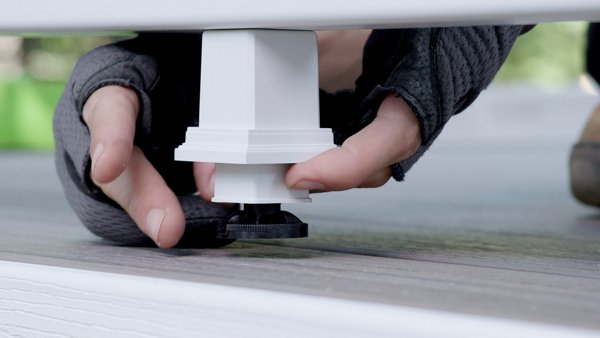
To install the foot block, line up the tab on top of the foot block and press firmly into predrilled hole (3/16”) on the bottom rail.
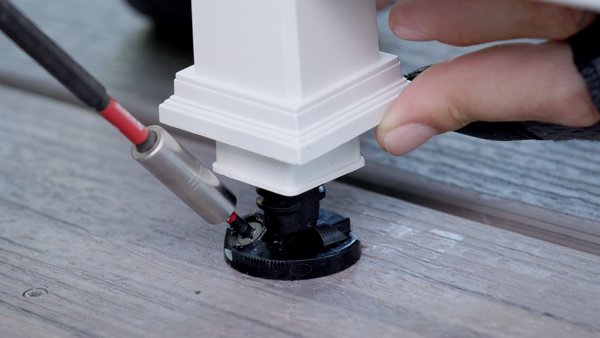
Slide the foot block sleeve up and twist the turn mount to the left until foot block is fully tightened in between decking surface and lower rail.
Fasten bottom of foot block to decking with 1” wood screw (provided). Drop down sleeve to complete.
Step 7
To install the post caps onto the post sleeve, slide the cap on top of sleeve and tap in place.
(Optional) Use a clear silicone adhesive around the inside of the cap before sliding on to the post for high wind areas.
Repeat these steps to install the remaining sections Trex Enhance Railing on the deck.


MADE IN THE U.S.A.
Copyright © 2024 Trex Company, Inc. All rights reserved.
Photos and videos © 2024 Warner Bros. Discovery, Inc. or its subsidiaries and affiliates. All trademarks are the property of their respective owners. All rights reserved.


By choosing your country, you acknowledge that you have read Trex's Privacy's Policy
Are you in the USA or Canada?
By choosing YES or NO, you acknowledge that you have read Trex's Privacy Policy