For any home project, be certain to follow local code and permitting requirements.
© 2022 Trex Company, Inc.
01. Intro
02. Installing Spacers
03. Fastening Fascia

Step-by-Step Instructions
- 01: Spacer Installation
Chapter 01: Spacer Installation
Print This Chapter
So you're ready to get started? Watch our how-to tutorial before you start your build.
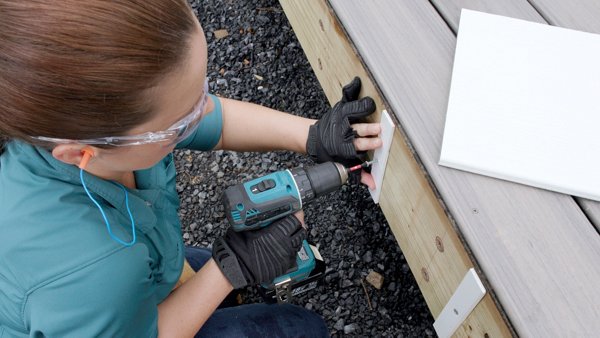
Before you begin any DIY project, make sure to wear the appropriate personal safety equipment. Eye protection, ear protection, gloves, long pants, a long-sleeved shirt, and reinforced toe shoes are recommended. Always make sure that you have a first aid kit nearby. For any home project, be certain to follow local code and permitting requirements.
Spacer installation will allow the fascia material to be installed flush with the top of the decking.
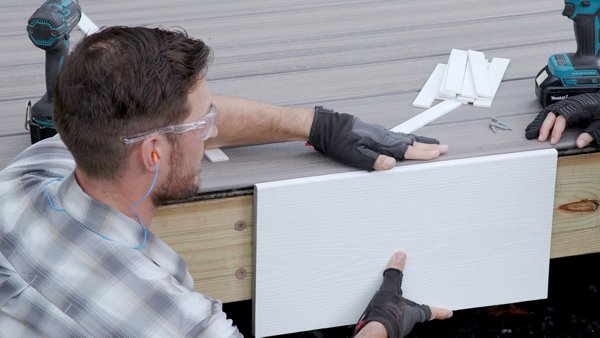
Spacer installation will allow air flow between the fascia material and the rim joist of the deck frame. The installation will also prevent debris and water from collecting between the fascia and the rim of the deck.

Step 1: Place Spacers
To install Trex® Fascia flush to top of decking, use spacers attached to the frame and placed at correct intervals for fastener attachment.
The spacer material should be rot-resistant, approximately 3/16” to ¼” thick, minimum 1” wide, and cut to the length of the rim joist of the deck. In this project, the spacer was 3/16” thick, 1” wide, and 7 ¼” long.
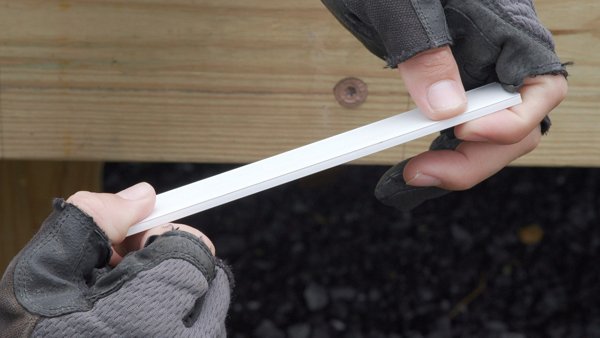
The spacer material can be purchased in long lengths and cut to shorter lengths or made on site from a rot-resistant material such as treated lumber.

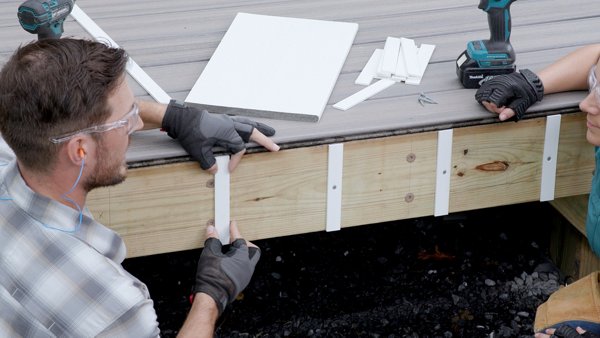
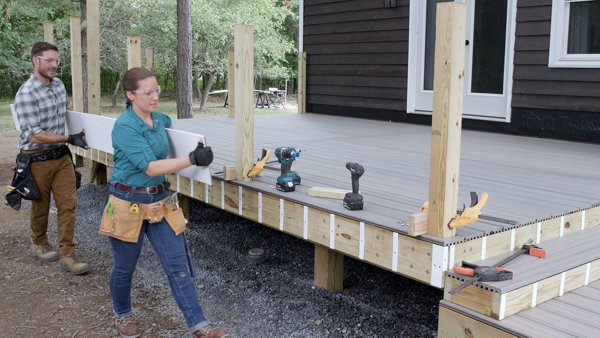
Step 2: Install Spacers
Install the spacers at 9” on center. The maximum spacing between the fascia fasteners is 18”.
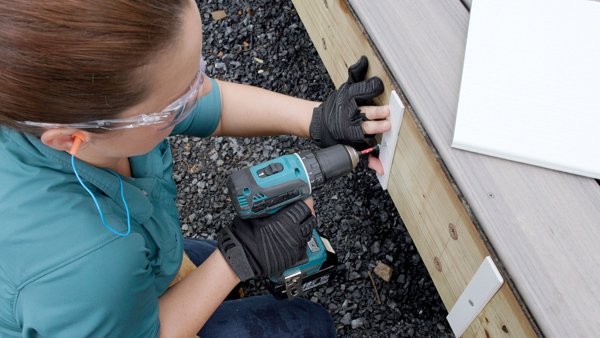
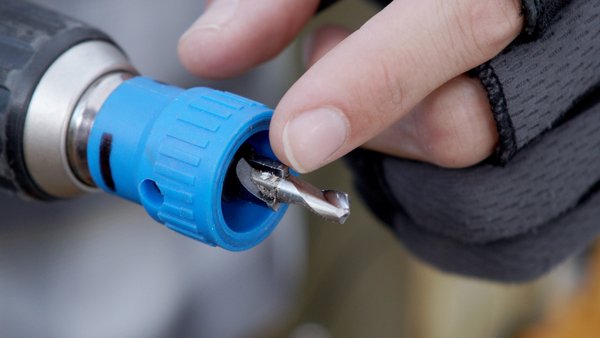
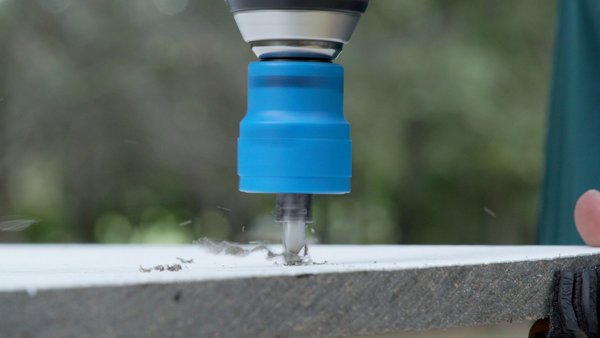
Step 3: Drill Hole in Spacers
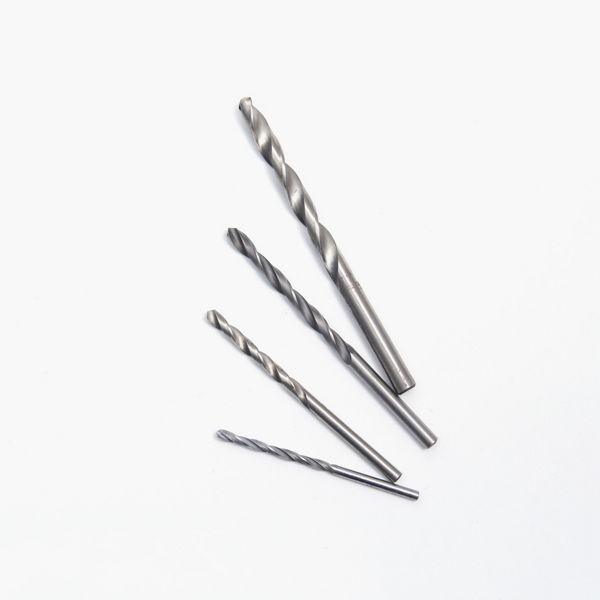
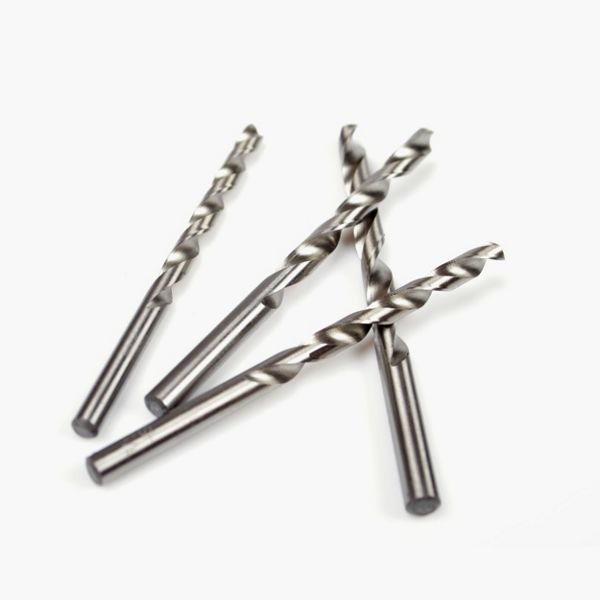
Using a 3/16” wood pre-dill bit, drill one hole in the middle of the spacer. Place a single fastener in the pre-drilled hole of the spacer and tighten until the fastener indents into the spacer. Do not over tighten as it could split the spacer.
Step 4: Determine Fastener Placement
Measure and mark every 18” on the fascia to determine where to place the fasteners. Mark 2” down from the top of the fascia for the top fastener.
To determine the placement and how many fasteners are needed see the diagram below or visit our fastener placement guidelines.
Step 5: Decide on Fastener Color or Plug
The fasteners can be color matched, or they can come with a color-matched plug that will hide the fastener once complete.
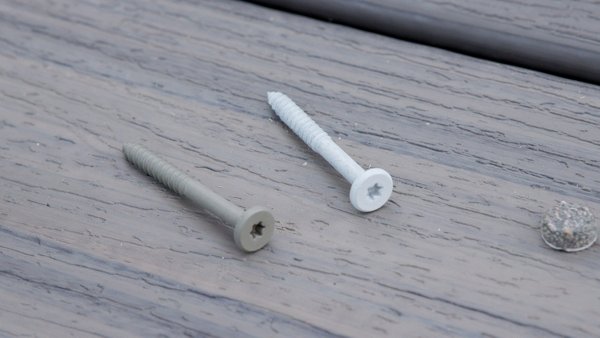
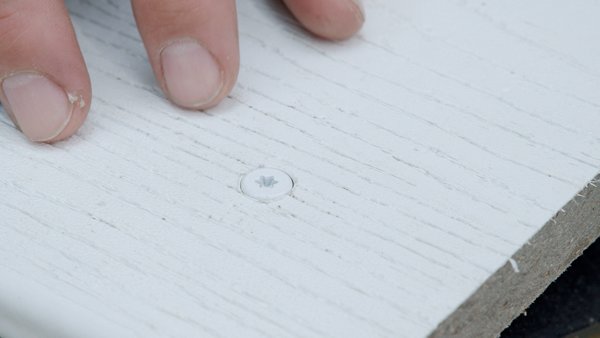
The color matched fastener will be indented to be flush with the fascia material.
The hidden fastener with plug option has the fastener indented deeper to allow room for the plug.
Fascia screws will require a specific bit which drills a specified hole and recesses the fastener to be flush or indented into the fascia material depending on whether the fascia screw will have a plug on top or not. This drill bit will be purchased separately from the fastener company.
Step 6: Pre-Drill Fastener Holes
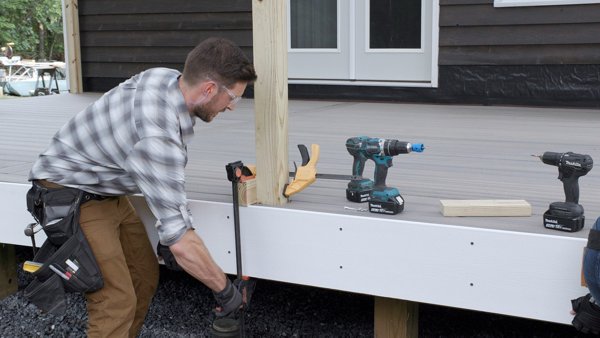
Place the fascia on a table or sawhorses and predrill the holes for the fasteners.
Refer to our installation guide for an approved list of fasteners for Trex Fascia.
Clamp a small piece of 2X4 to the guardrail post on top of the decking. The 2X4 should overhang the edge of the deck by at least 1”. Clamp multiple 2X4’s so that the fascia has a stopping point all along the top of the deck.
Step 7: Clamp Fascia
Place the fascia against the rim joist and tight against the 2X4 blocks clamped on top of the decking.
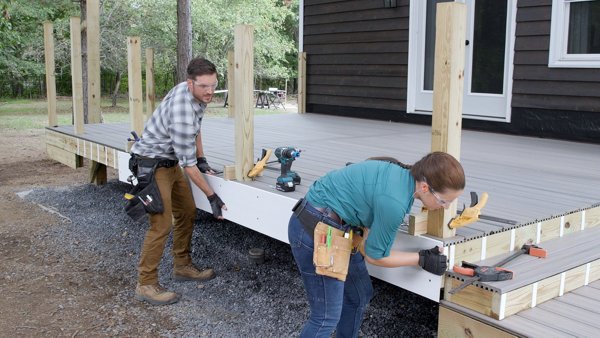
Clamp the fascia to the 2X4 blocks. Make sure that the fascia is tight against the rim of the deck. This will keep the fascia flush with the top of the decking. The clamp will allow working hands free while fastening the fascia.
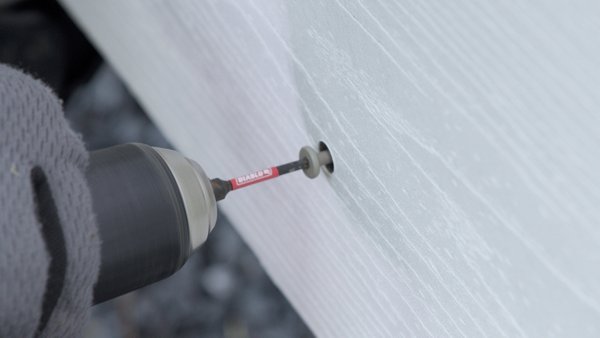
Step 8: Drill in Fastener
Predrill into the hole of the fascia with a 1/8” wood drill bit. Only drill through the depth of the spacer and not into the rim joist of the deck.
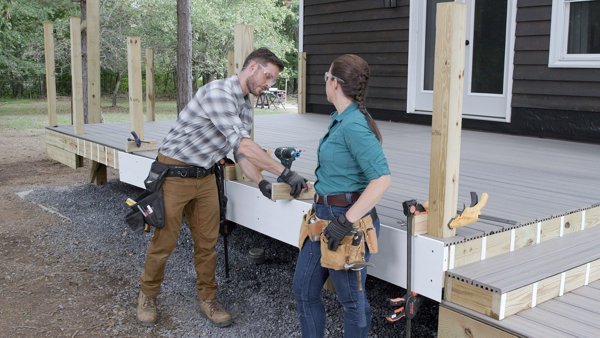
Drill the fasteners through the fascia and into the rim joist.
Step 9: Ensure Fascia is Flush With Deck
Using a scrap 2X4 or a speed square, hold the 2X4 on top of the decking and fascia. Make sure that the fascia is flush with the top of the decking. The fascia can be raised or lowered if needed as the fasteners are installed. This will ensure that the fascia is flush with the top of the decking the entire length of the deck.
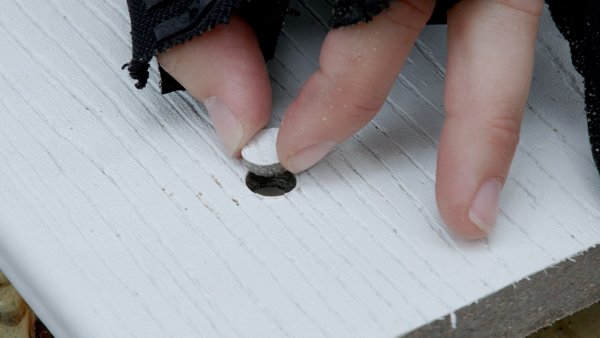
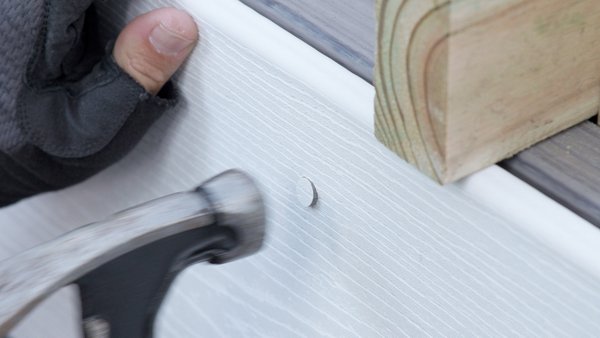
Step 10: Plug Holes
Once all the fasteners have been installed, if applicable, tap the plugs into the holes on top of the screws.
Refer to our installation guide for gapping requirements on fascia ends.


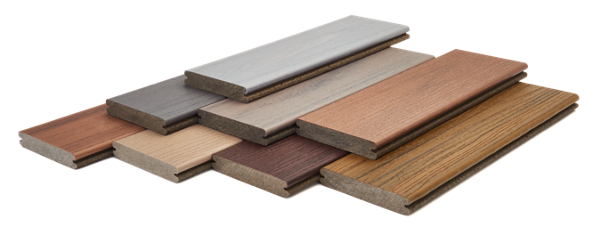
Materials
See All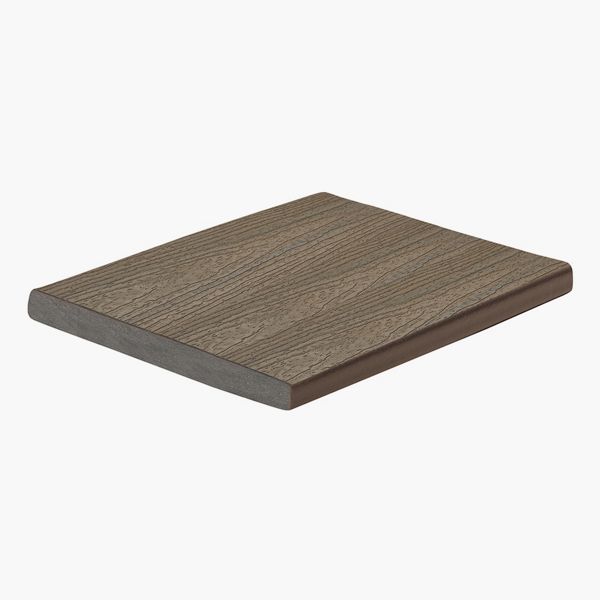


MADE IN THE U.S.A.
Copyright © 2024 Trex Company, Inc. All rights reserved.
Photos and videos © 2024 Warner Bros. Discovery, Inc. or its subsidiaries and affiliates. All trademarks are the property of their respective owners. All rights reserved.


By choosing your country, you acknowledge that you have read Trex's Privacy's Policy
Are you in the USA or Canada?
By choosing YES or NO, you acknowledge that you have read Trex's Privacy Policy